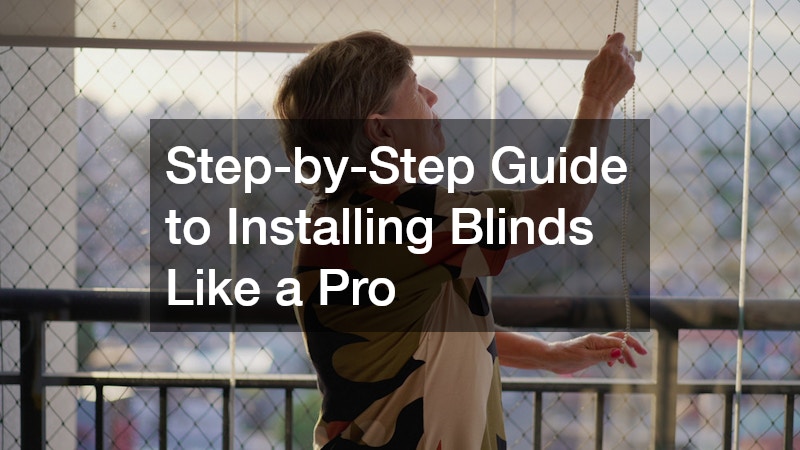
While professional installation is always an option, installing curtains yourself can be straightforward with the right tools, accurate measurements and a bit of patience. Follow this step-by-step guide to achieve a professional finish with your DIY blind installation.
Step 1: Choose the Right Type of Window Covers
Before you start the installation process, it’s essential to select the type of curtains that best suit your space. There are various styles available, including Venetian, roller, vertical, Roman and panel glide shutters. Each style offers different benefits. For example, roller shades are ideal for a minimalist look and easy operation, while Venetian blinds provide excellent light control.
Also consider material options like timber, aluminium or fabric, depending on your décor and functional needs. For wet areas such as bathrooms and kitchens, opt for moisture-resistant materials.
Step 2: Gather the Tools You Need
To install window masks like a pro, make sure you have all the necessary tools and equipment on hand before starting. You will typically need:
- Measuring tape
- Pencil
- Drill with appropriate bits
- Screwdriver
- Level
- Step ladder
- Wall plugs (for masonry or plasterboard walls)
Some come with their own installation kit, including screws and brackets. Check the package to avoid doubling up.
Step 3: Measure Accurately
Precision is key to ensuring your curtains fit perfectly. You’ll need to decide whether they will be installed inside the window recess (recess fit) or mounted on the wall above the window (face fit).
For recess fit:
- Measure the width at the top, middle and bottom of the window opening. Record the smallest measurement.
- Measure the height at the left, centre and right sides. Record the longest measurement.
For face fit:
- Measure the width of the window and add at least 5 cm on either side for optimal coverage.
- Measure from the top of where the shutter will be installed to the desired drop length.
Double-check all measurements. Inaccurate measurements can result in poorly fitted window covers that don’t function correctly.
Step 4: Mark Your Mounting Points
Hold the blind brackets up to the mounting location and use a pencil to mark where the screws will go. Use a spirit level to ensure the marks are perfectly horizontal—this step is crucial to prevent crooked curtains.
If installing into a wall or ceiling, consider using wall plugs to secure the screws, especially if the surface is masonry or drywall. For wooden frames, direct drilling is usually sufficient.
Step 5: Install the Brackets
Using a drill or screwdriver, secure the brackets at the marked points. Make sure they’re aligned and level. Some coverings may require side, top or face fixing depending on the bracket type and window design.
Ensure each bracket is firmly attached. Loose brackets can cause the curtains to sag or fall, compromising both safety and aesthetics.
Step 6: Fit the Shutters into the Brackets
Once the brackets are securely in place, it’s time to fit the curtains. This step may vary depending on the type of covers you’ve chosen. For roller blinds, you typically need to slot the blind into the bracket on one side, then clip it into the opposite bracket. For Venetian or vertical blinds, you may need to click the headrail into the mounting clips.
Follow the manufacturer’s instructions carefully and ensure the mechanism operates smoothly before proceeding.
Step 7: Install Safety Devices
Child safety is paramount when installing shutters. Many types include cord safety cleats or tensioning devices to keep cords out of reach of young children. Secure these to the wall in accordance with the safety guidelines provided. Make sure all cords or chains are taut and inaccessible to children.
Step 8: Test the Operation

Once everything is installed, test for functionality. Raise and lower them several times to ensure they operate smoothly and evenly. Adjust any unevenness by checking the bracket alignment or re-leveling if necessary.
Installing your own window shades not only saves on professional installation costs but also gives you a sense of accomplishment. With accurate measurements, the right tools and attention to detail, you can achieve a polished, professional finish that complements your home’s interior.
Curtains are more than just a window covering—they’re a functional design element that can transform the atmosphere of a room. By following this guide, you’ll be well on your way to enjoying the comfort, privacy and style that professionally installed coverings offer, all from the comfort of your own toolkit.
